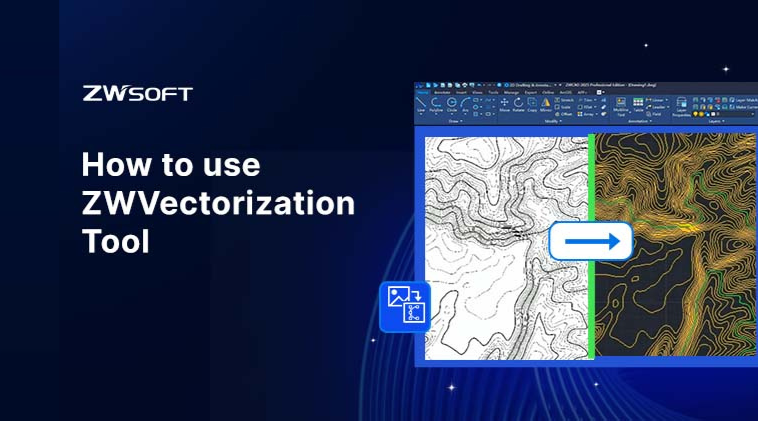
ZWVectorization Tool is an easy-to-use plugin that converts raster images to DWG drawings quickly and accurately. With this tool, you can easily convert scanned or hand-drawn legacy drawings into editable, high-quality DWG drawings, saving you significant time and money spent on manual redrawing. In this article, we’ll guide you through how to install, activate, and use this tool for seamless raster-to-vector conversion.
Step 1: Install ZWVectorization Tool
- Install ZWCAD: Make sure you have ZWCAD 2025 or later. If not, refer to the ZWCAD Quick Start Guide.
- Install ZWVectorization Tool: Download the tool. Choose your preferred language and installation path, and then install.

Note: ZWVectorization Tool offers a 5-day free trial without activation. Users in the trial period can jump to Step 3 and start to use the tool.
Step 2: Activate ZWVectorization Tool
- Open License Manager: Launch it from the Windows Start Menu.
- Activate ZWCAD: Ensure ZWCAD is activated. If not, refer to the ZWCAD Quick Start Guide.
- Activate ZWVectorization Tool: Enter your license code for the tool the activate it.

Step 3: Launch the Vectorization Feature
You can initiate the vectorization process in three ways:
- Command Line: Type VECTORIZATION and press [Enter].
- Ribbon: Click the “Vectorization” button on the Ribbon menu.
- Classic Menu: Go to the “Tools” tab in the Classic menu and select [Vectorization].

Step 4: Configure Vectorization Options
Before converting, you can configure vectorization settings for optimal results. The Configuration Manager offers two preset schemes:
- Contour: Ideal for converting topographic maps.
- CAD drawing: Ideal for converting all other drawings.
You can also create custom settings. Here are some key areas you can configure:
- General Settings: Adjust the vectorization parameters.
- Fit Settings: Set rules for converting the graphics of images into lines, arcs, and other CAD objects.
- OCR Settings: Customize text recognition parameters (e.g., font style, max text height).
Some key options in Configuration Manager include:
- Vectorization: Convert images to CAD drawings.
- Text Recognition: Convert text in images to editable text objects. (If there is no text that needs to be converted, do not check it.)
- Centerline Extraction: Ideal for mechanical or topographic drawings.
- Outline Extraction: Captures external boundaries of objects.

Step 5: Start Conversion and Modify Results
Once you’ve configured your options and selected your image, click [OK] to start the conversion. The tool will generate a CAD drawing that mirrors the original.

After the conversion, you can fine-tune the results using the Vectorization Rectify feature:
- Launch Modification Mode: Type VECTORIZATIONRECTIFY or Select [Vectorization results Revision] on the Ribbon/Classic menu.
- Modify Objects: There are three editing options:
- Break: Split an object into two parts.
- Connect: Join two disconnected objects into a single element.
- Merge: Combine two objects with intersection points into one.

Conclusion
With ZWVectorization Tool, converting raster images into CAD drawings has never been easier. By following the steps above, you can automate routine tasks and focus more on creative work. Whether you’re a designer, engineer, or architect, this tool is an invaluable addition to your ZWCAD toolkit.
For detailed guidance, download the ZWVectorization Tool User Guide. To learn more about the tool, visit the the Product Page.
Get Started with ZWVectorization Tool Today
Download it now with a 5-day free trial and discover how it can help you transfer images to DWG files easier and faster. Contact us to buy it now.
Buy ZWCAD 2025 (Professional/MFG), Unlock ZWVectorization Tool for Free
From October 17 to December 31, 2024, when you buy a license of ZWCAD 2025 Professional or ZWCAD MFG 2025, you can enjoy a bundled 1-year license of ZWVectorization Tool for free! Learn more about the Promotion.
.png)
